Showing posts with label Layout. Show all posts

Saturday, December 15, 2012

Envelope and layour I'M BACK


I have not been posting for a LONG TIME! due to laziness |  assignment | and so on.
But I did some mini albums, smash books and stuffs, of course shopping too.

Today presenting you a VELLUM ENVELOPE
Supplies: Vellum in A4 size | Washi Tape | Doily | Twine | Punch for confettis
How To: Fold vellum in half to A3, insert punched butterflies on paper for confettis,
 use washi tape to seal 4 sides with your card inside,
tie a bow with twine, then staple Doily, washi tape banner and twine on top. DONE

another LAYOUT made in August
with Neapolitan (Dear Lizzy), Sketchbook (Amy Tangerine) and Heidi Swapp alphabet stickers
media used: Gesso and white mist to tone down the colour, 
yellow | purple | orange mist on alphabet stickers


Thank you for coming back. I'm planning to take a video of both my Europe & Hong Kong travel smash book.
Adios

Saturday, June 30, 2012

Monday Tutorials for Scrappingville in July

Good day everyone! It's another monday tutorial for you here! I would like to present you a layout that involves four photos but still making it easy.

First, mist the white cardstock in blue by using a 12"x12" stencil, you could get a good quality stencil from The Crafters Workshop. Then use two types of banners, one scalloped and another one which is alterable by Heidi Swapp's latest collection, stick them at the bottom of the page by overlapping them.

Arrange your photos as you wish, you could use any amount of photos of course! Here I'm using 4 instead. When you are happy about it, matte your photos with different pattern papers but it should be smaller than your photos, so that it would turn out fun! You could even fussy cut different images out from pattern papers, here I'm using the plants, flowers and chevrons by She Art from Pink Paislee.

Select a space to stick your die cut bracket from Pink Paislee's Nantucket diecut, then write or stick alpha stickers for your title. I also added some more die cuts like the "Sweet" word and flower here and there.
Just a few things prepared and you are successful with one more layout! Enjoy scrapping! Remember to get everything you need here from Scrappingville store!


Thursday, June 28, 2012

Monday Tutorials 02.07.2012

Hi again, and I'm back with Monday Tutorials for you! For June, there are some Pink Paislee's She Art and Nantucket, Hambly Screen Prints and Heidi Swapp's mistable banners! The layout I'm going to share today is this:


First, I used Yellow, Maroon and Orange mist to colour a banner from Heidi Swapp's, then cut extra banners from one of the She Art papers. Glue them down on top of an American Crafts' glitter cardstock.

Punch out stars and glue them on the bottom of the page.


Cut a smaller piece from Hambly screen's Bow Tie for the 'door' of the centre and use a small piece of washi tape to adhere down to the page. I added glue between the tape and the cardstock for stronger adhesion. Then use Pink Paislee's She Art papers and Nantucket's die cuts to decorate the 'door', here I cut banners, borders and bow out from papers. and layer with some more die cuts.


After making the 'door', place another Hambly Screen Print paper with the exact same size with the 'door' beneath it. Stick your photo on it, and add more washi tape if you wish too. I cut out more flowers from the She Art paper and embellish the backside of the 'door' and on the base.


Embellish your photo on the base with some flower die cuts, punched out butterflies and word stickers. You could use anything with bright colours on hand to embellish, bright colours shows nicely against the black glitter cardstock.


All products including papers, stickers, die cuts, transparencies, mistables and ribbons are available in Scrappingville shop. Come on over to get everything you need and start a new layout!

Tuesday, June 26, 2012

Yeay... a new layout *evil laugh*

Woookay, there are so much that I want to post everything in one go but I can't, I just hate uploading photos, it's super time consuming :(

I've got a big fat bag full of 14 acrylic stamps by SC, AE, LF, SwissGirl Designs and Paper Smooches... hahaha.. that makes me laugh. All and yes every single SMASH pads, papers lalala~
Two wonderful SMASH books that I'm owning now, *hahahaha* one for my upcoming trip *i cant wait, heart beats faster* and another one for my daily junk.. great thing is I've started some pages!!!!!!!! Would definitely like to share some pages that I think is awesome and the process of how I prepare for a trip. Guess that would be cool!!!!

But first, *heart beats super fast*
I FINALLY HAVE GOTTEN MYSELF A CANON D.S.L.R. CA.ME.RA.
Y.E.S.S.S.S.S.S.S.S.S.S.S.S.S.S.S.S.
omg omg omg omg omg omg omg omg
and so I really really really wanna try snapping on projects.. that would be the most exciting part :D

I dug out the new Sketchbook line and some stuffs that has been waiting for me quite a long time to make a layout. Can confirm I am a mix-and-match-throw-in-the-scraps type of person now :)


Did no photoshop or editing here, reason is simple, I am lazy :|


This tells I study everyday from morning till midnight preparing for my finals, lasted for 21 days, gulp, i didnt even realised that! I'M a robot

Instagram! stamp from Studio Calico PL-Good stuff, that stamp set is really one good stuff, hope u grabbed it

This looks like blood, but anyhow it still looks okay to me :)

Thanks for browsing, I really really really really really enjoy shooting photos now :DDDD

Thursday, June 7, 2012

Thinking of You card for Pretty Little Studios

Time to upload a card and layout i made for Pretty Little Studios...
I love the card and layout... cause the colour matches very well... I have to mix with colours, that just makes me happy hahahahaha~~~~


This layout is dedicated to SamJie, but I'm still the one keeping the page, ha! I can't let go of this.. I just loooooooooooooooooooooooooove it :D


Thank you so much for coming over :) I hope my exam will end really soon so I can scrap more and prepare the smash album for my coming trip....

Monday, April 30, 2012

April layout for Scrappingville and Pretty Little Studio's new line


Hello everyone, I'm blogging another MONDAY TUTORIALS today! We'll be incoporating mix-media with a scrapbooking layout, hope you have fun with this :)
Apply a layer of gesso on your white cardstock, a thin layer will do. Once dry, use circle and sun template (or any other templates will do) and add a thick modeling paste for a good coverage and let it dry.
When the modeling paste is completely dry, spray water onto your layout. Pick your favourite mist and spray them on the water, then spray water onto your mist again to get a watercolour effect. Concentrate your colour spraying especially on the modeling paste. Becareful of water dripping out from your layout, it gets very messy here :)
Leave your layout to dry and once dried you'll have something that looks like this. It will turn out to be a watercolour effect.
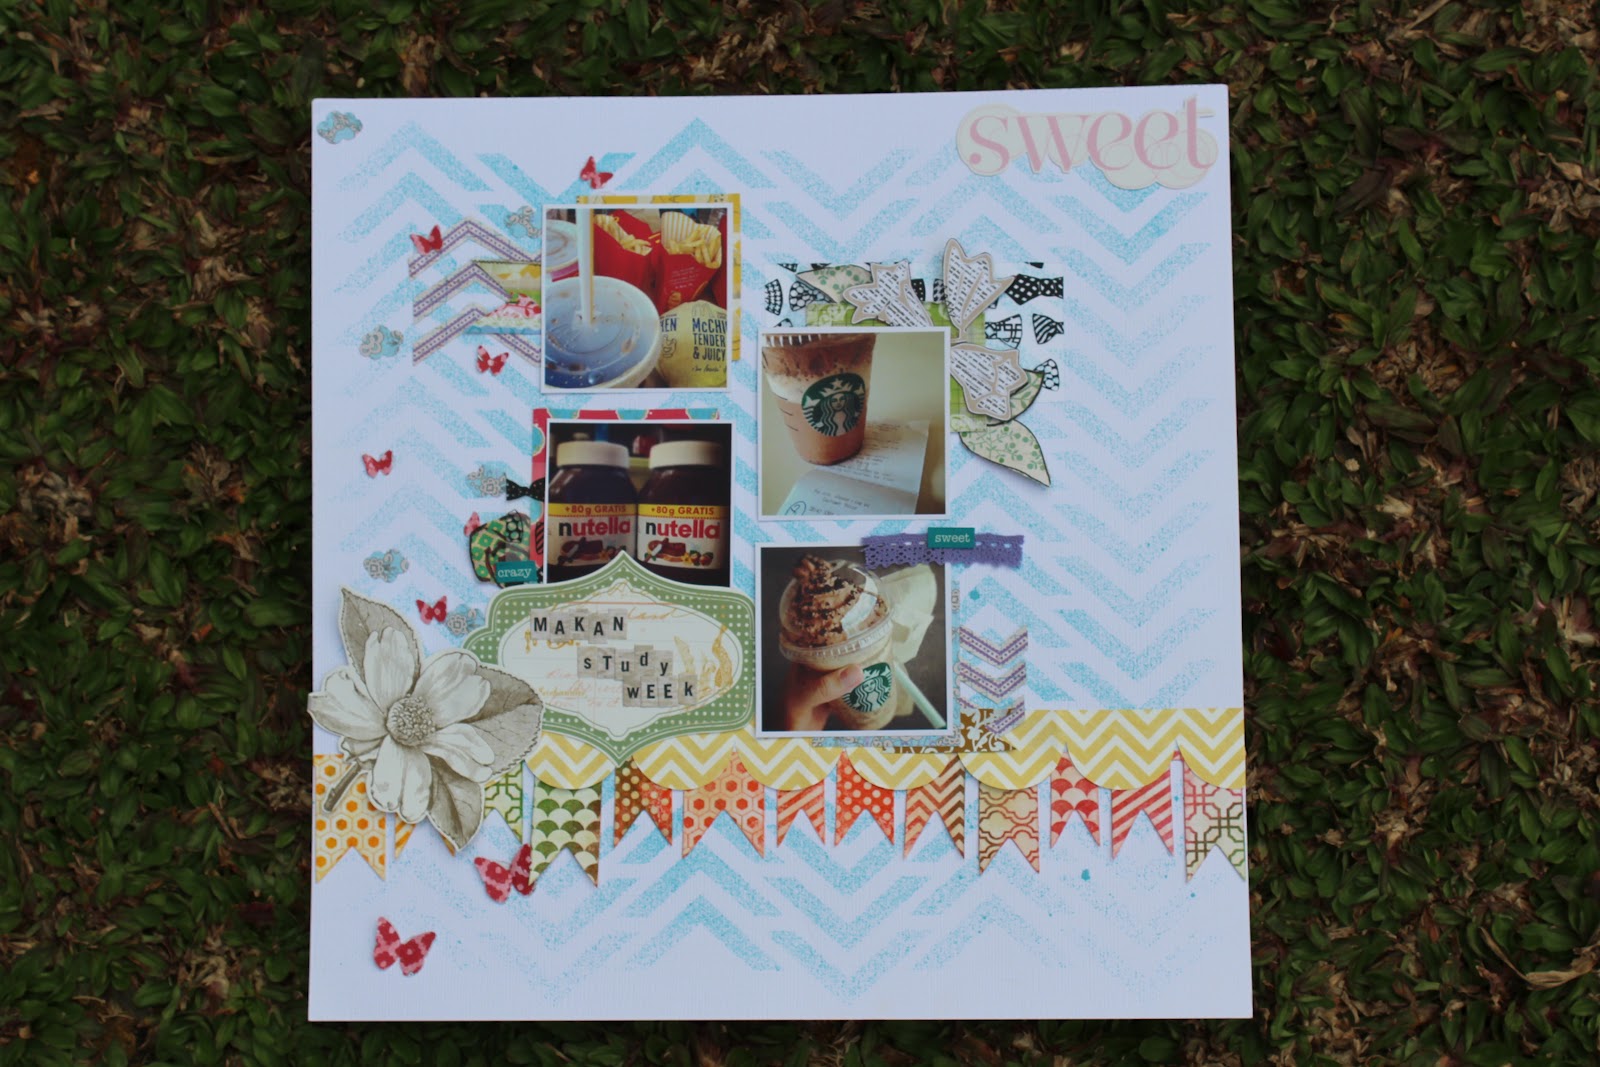
I didn't like the ugly circle effect on the left, so I covered it up with a big similar to polaroid style photo there and start adding stickers here and there.
Added a banner sticker on the left top corner with some stamped birds flying around.

A bicycle sticker on the right bottom and used alpha stickers to spell the phrase out at the same area. Play with different styles of phrasing :)
More cute element stickers were added around the polaroid plus some layerings. Punched out hearts and backed with a different patternpaper.

Double and triple layered the balloons for a super dimensional look, because the layout is uneven.
Hand cut your own letterings for title on pattern paper, they are more unique than Thickers! You can use a die cutting machine like the Sillhouette if you own one :)
There you have it, hope you have fun with the mix media idea :)

Get pattern papers and sticker sheets at Scrappingville shop where everything is available there!!!
------------------------------------------------------------------------------------------------------------------------

Melissa allowed us to show everyone the behind the scene's of another new line coming up... spend your lovely summer with this new line with pastel bicycles, butteflies, sand castles and hexagons! more die cut flashcards for you too! They'll sure make your day :)
They will be available very very soon, I'll promise :)
Please don't be silly by missing the current MONSIEUR line :DDD it is equivalently stunning!!! Go to the shop and at least get the vintage man stickers and tags for goodness sake, hahahaah :)))

Thursday, April 12, 2012

GIVEAWAYS and a project woohoo~ :D

Had a really simple and yummy tutorial for Pretty Little Studios last week!! Not only the goodies are yummy, something yummy is packed inside too! A great treat for someone special today!

Prepare kraft papers or pattern papers would be fine, and cut with the measurements below.


Fold both 3'' sides together until they meet, then fold the top and staple.


Fill in colorful yummy candies such as jelly beans into your small packet.


Carefully fold the other side for closure, but in the opposite direction to form a traingular packet, then staple to secure.


Gather your yummy Pretty Little Studio goodies and start embellishing those cute packets for your lovely ones.


Pretty Little Studios is having their new collection stickers for giveaways too! have you heard f SAND CASTLE???!!! gosh, the pastels and those embellishment are just overwhelming! This will be a great opportunity for you to get the stickers for free before they even start selling them :) NICE!
Head over to --> http://prettylittlestudio.com/blog/?p=5192 and leave a comment, GOOD LUCK TO YOU!

If you would like a small giveaway from me... for this JOY image that I hand carved and stamped to you... come on over to http://odcherylmfab1310.blogspot.com/2012/04/experimenting-own-style.html and just leave a comment.. :) I find that the little speechbubbles are great for finishing touches and somehow cute, hahahahah... oh, great for Project Life too, although I don't have a PL :) they are small enough to fit the pockets.


I used the HELLO ones for a layout too :)

Thanks all! oo... I'm gonna have a new camera soon, no more blah photos anymore :)))))

Saturday, April 7, 2012

Experimenting own style

Everybody's discovering what their style really is when it comes to scrapbooking... Mmm... I don't really know what my style is too.... I've finally made two layouts when 5 of my assignments has been completed (HALLELUJAH!) and these are the failure and success.....
I wanted to follow Celine Navarro's sketch on her blog (you should check out, it is sooooooooooo cool!) and quickly finish up the Field Guide kit from SC... sigh, it did not turn out what I expected. It's boring, straight and boring again.. wanted to add some butterflies and embellishment, but I didn't know where to put them... mmm.... some circles may help but I don't even have a single circle punch in my stash... oh so pathetic.... haha
can I just leave it as it is?

after the failure, I tried to make another layout not following any sketches or referring to any other awesome projects from those awesome scrappers the other day. What came into my mind was the Project Life display idea (i think they call it blocking?) + Celine's 'colourful' use on her layouts (yes, just in case you did not notice, I'm a big Celine fan, a really big one).

Still figuring out why the photos' are so blur :( so sorry about that.
I made blocks by measuring in inches, then worked box by box.
Used your favourite white Huey on your favourite wood background paper from Crate paper and added flowers... me likey the effect :D


Misted some of the areas with Plumb Thumb mist, the color is AWESOME, never have I ever thought this colour would make a project pretty :)
Super like this bee stamp from AC.... Blowed the inks and had this watercolour effect, and *wink wink* I handcarved the JOY speechbubble... please look twice at the JOY and later scroll down if you like it :D

A printable from oh-no I've forgotten the source! with the pretty Plumb Thumb mist again :)
Here I misted the red pattern paper with white mist then stamp the sentiment on... sprinkle TA mist and yeah that Plumb Thumb again....

Date please...


Do you like the JOY stamped image? Okay, I'll giveaway one set in 6s !... please help me by letting me know what is my style and comment on this post with your e-mail address please... the JOYful winner will be announced next Friday ( 13 April 2012 )... TIA :)


Have an awesome weekend!!!!